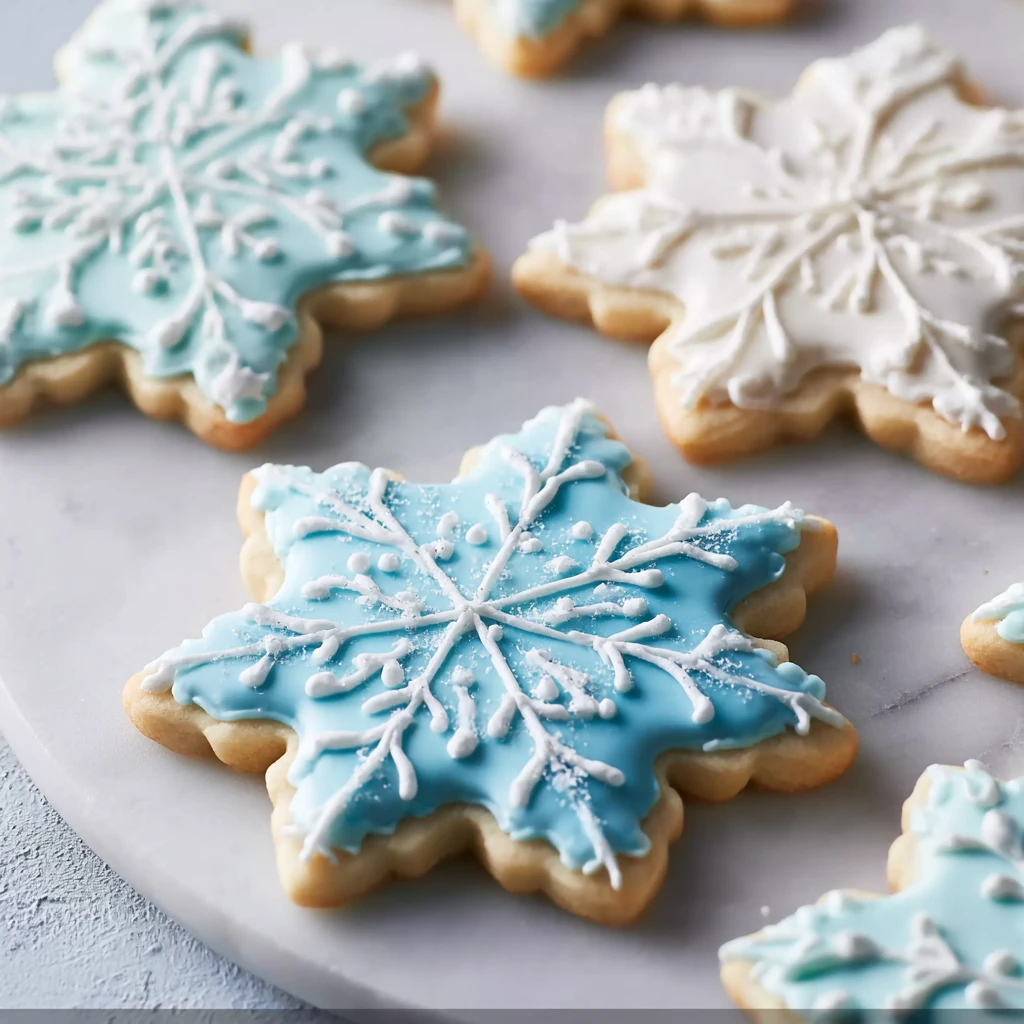
The Best Classic Cut-Out Sugar Cookies with Royal Icing

Introduction
Welcome to the delightful world of classic cut-out sugar cookies with royal icing! If you’ve ever wanted to create beautifully decorated cookies that not only look amazing but also taste delicious, you’re in the right place. This recipe is a perfect blend of tradition, creativity, and sweetness that will elevate your baking game to a whole new level.
There’s something truly special about the process of making and decorating sugar cookies. It’s a joyful activity that can be shared with loved ones, whether you’re baking for a special occasion or simply indulging in some creative me-time in the kitchen. The magic of these cookies lies in their versatility and the endless possibilities for decorating them to suit any theme or celebration.
Throughout history, sugar cookies have been a beloved treat in many cultures, often associated with holidays and festive gatherings. Their simple yet delectable taste, combined with the artistry of royal icing decorations, makes them a timeless favorite for both young and old. So, roll up your sleeves, preheat your oven, and let’s dive into the world of classic cut-out sugar cookies!
Prepare to be enchanted by the aroma of freshly baked cookies, the joy of piping intricate designs with royal icing, and the satisfaction of creating edible works of art that will impress everyone who lays eyes on them. This recipe is not just about baking cookies; it’s about creating memories and spreading happiness one delicious bite at a time.
Why You’ll Love This Recipe
These classic cut-out sugar cookies with royal icing are a baker’s dream come true. Here’s why you’ll fall in love with this recipe:
First and foremost, these cookies are incredibly versatile and perfect for any occasion. Whether you’re celebrating a birthday, holiday, or simply craving a sweet treat, these cookies can be customized to suit your theme or mood.
The combination of the buttery, melt-in-your-mouth sugar cookie base with the smooth and glossy royal icing topping is simply irresistible. It’s a match made in dessert heaven that will have you coming back for more.
Furthermore, this recipe offers endless opportunities for creativity and personalization. From choosing different cookie cutter shapes to experimenting with various icing colors and designs, you can let your imagination run wild and create edible masterpieces that reflect your unique style.
Lastly, these cookies not only look stunning but also taste absolutely delicious. The buttery richness of the cookie pairs perfectly with the sweet and slightly tangy royal icing, creating a flavor combination that will leave your taste buds singing with delight.
Ingredients
Before you embark on your sugar cookie baking adventure, make sure you have the following ingredients ready:
– All-purpose flour: For the perfect cookie texture
– Baking powder: To help the cookies rise slightly
– Salt: To enhance the flavor of the cookies
– Unsalted butter: For that rich and buttery taste
– Granulated sugar: For sweetness and a hint of caramelization
– Egg: To bind the dough together
– Vanilla extract: For that classic cookie flavor
– Royal icing: To decorate the cookies with precision and flair
Feel free to customize the flavor profile of your cookies by adding additional extracts like almond or lemon, or incorporating spices like cinnamon or nutmeg for a seasonal twist. Get creative with your ingredients and make these cookies truly your own!
Now that you have your ingredients set, let’s dive into the step-by-step instructions to create these delectable classic cut-out sugar cookies with royal icing.
Step-by-Step Instructions
1. In a mixing bowl, whisk together the flour, baking powder, and salt until well combined.
2. In a separate bowl, cream together the butter and sugar until light and fluffy.
3. Add the egg and vanilla extract to the butter mixture and beat until smooth.
4. Gradually add the dry ingredients to the wet ingredients, mixing until a dough forms.
5. Divide the dough in half, shape each half into a disc, wrap in plastic wrap, and refrigerate for at least 1 hour.
6. Preheat your oven to 350°F (180°C) and line baking sheets with parchment paper.
7. Roll out the chilled dough on a floured surface to about 1/4 inch thickness.
8. Use cookie cutters to cut out shapes from the dough and place them on the prepared baking sheets.
9. Bake the cookies for 8-10 minutes or until the edges are lightly golden.
10. Allow the cookies to cool completely before decorating with royal icing.
11. To make the royal icing, combine powdered sugar, meringue powder, and water in a bowl and beat until smooth and glossy.
12. Divide the icing into different bowls and color as desired with gel food coloring.
13. Transfer the icing to piping bags fitted with small round tips and decorate the cooled cookies with your desired designs.
14. Allow the icing to set before serving or storing the cookies in an airtight container.
With these simple steps, you’ll be on your way to creating stunning and delicious classic cut-out sugar cookies with royal icing that will impress everyone who tries them.
Expert Tips for Success
1. Make sure your butter is at room temperature for easy creaming and a smooth cookie dough.
2. Chill the cookie dough before rolling it out to prevent the cookies from spreading too much in the oven.
3. If you prefer a softer cookie, reduce the baking time slightly to achieve a chewier texture.
4. Practice your piping skills on a piece of parchment paper before decorating the cookies to ensure precision and neatness.
5. Store decorated cookies in a single layer to prevent smudging or sticking of the royal icing designs.
By following these expert tips, you’ll be able to master the art of making perfect classic cut-out sugar cookies with royal icing every time.
Variations and Substitutions
There are endless ways to customize this recipe to suit your preferences and dietary needs:
– For a dairy-free version, use vegan butter in place of regular butter.
– Experiment with different icing flavors by adding citrus zest or flavored extracts.
– If you prefer a softer icing, use a glaze made with powdered sugar and milk instead of royal icing.
– Add sprinkles, edible glitter, or other decorations to make your cookies even more festive and eye-catching.
Don’t be afraid to get creative and put your own spin on these classic sugar cookies. The possibilities are truly endless!
Serving Suggestions
These classic cut-out sugar cookies with royal icing are perfect for any occasion, whether you’re hosting a party or simply treating yourself to a sweet indulgence. Here are some serving suggestions to enhance your cookie experience:
– Serve the cookies alongside a cup of hot cocoa or a glass of cold milk for a classic pairing.
– Package the cookies in decorative bags or boxes to give as gifts for birthdays, holidays, or special events.
– Display the cookies on a dessert platter at your next gathering and watch them disappear in no time.
However you choose to enjoy these cookies, one thing is for sure – they are guaranteed to bring a smile to your face and warmth to your heart with every delightful bite.
FAQs
Q: Can I make the cookie dough ahead of time and freeze it for later use?
A: Yes, you can prepare the cookie dough, shape it into discs, wrap it tightly, and freeze it for up to 3 months. Thaw the dough in the refrigerator before rolling it out and baking.
Q: How should I store decorated sugar cookies with royal icing?
A: Store the decorated cookies in a single layer in an airtight container at room temperature. Avoid stacking the cookies to prevent the icing designs from smudging.
Q: Can I use store-bought icing instead of making royal icing from scratch?
A: While store-bought icing can be convenient, making royal icing from scratch allows for greater control over the consistency and flavor of the icing. Homemade royal icing is recommended for the best results.
Q: How far in advance can I decorate the cookies with royal icing?
A: You can decorate the cookies with royal icing up to a few days in advance. Make sure the icing is completely set before storing the cookies to maintain the designs.
Final Thoughts
As you embark on your sugar cookie baking journey, remember that the process is just as rewarding as the end result. The act of mixing, rolling, cutting, baking, and decorating is a labor of love that yields not only delicious treats but also cherished memories.
So, gather your ingredients, preheat your oven, and let your creativity run wild as you craft these classic cut-out sugar cookies with royal icing. Whether you’re a seasoned baker or a novice in the kitchen, this recipe is sure to bring joy, satisfaction, and a touch of sweetness to your day.
Indulge in the magic of baking, share the love through beautifully decorated cookies, and savor the simple pleasure of enjoying a homemade treat made with care and creativity. Happy baking!
The Best Classic Cut-Out Sugar Cookies with Royal Icing
Delightful classic sugar cookies with royal icing that are perfect for any occasion. These cookies are both visually stunning and delicious, providing a sweet and buttery taste that melts in your mouth. Get creative with decorating these versatile treats and make edible works of art to impress your loved ones.
Ingredients
- 3 cups all-purpose flour
- 1 teaspoon baking powder
- 1/2 teaspoon salt
- 1 cup unsalted butter, at room temperature
- 1 cup granulated sugar
- 1 large egg
- 1 teaspoon vanilla extract
- 1 batch royal icing
Directions
- In a mixing bowl, whisk together the flour, baking powder, and salt until well combined.
- In a separate bowl, cream together the butter and sugar until light and fluffy.
- Add the egg and vanilla extract to the butter mixture and beat until smooth.
- Gradually add the dry ingredients to the wet ingredients, mixing until a dough forms.
- Divide the dough in half, shape each half into a disc, wrap in plastic wrap, and refrigerate for at least 1 hour.
- Preheat the oven to 350°F (180°C) and line baking sheets with parchment paper.
- Roll out the chilled dough on a floured surface to about 1/4 inch thickness.
- Use cookie cutters to cut out shapes from the dough and place them on the prepared baking sheets.
- Bake the cookies for 8-10 minutes or until the edges are lightly golden.
- Allow the cookies to cool completely before decorating with royal icing.
- To make the royal icing, combine powdered sugar, meringue powder, and water in a bowl and beat until smooth and glossy.
- Divide the icing into different bowls and color as desired with gel food coloring.
- Transfer the icing to piping bags fitted with small round tips and decorate the cooled cookies with your desired designs.
- Allow the icing to set before serving or storing the cookies in an airtight container.