Homemade Crystal Candy

Introduction
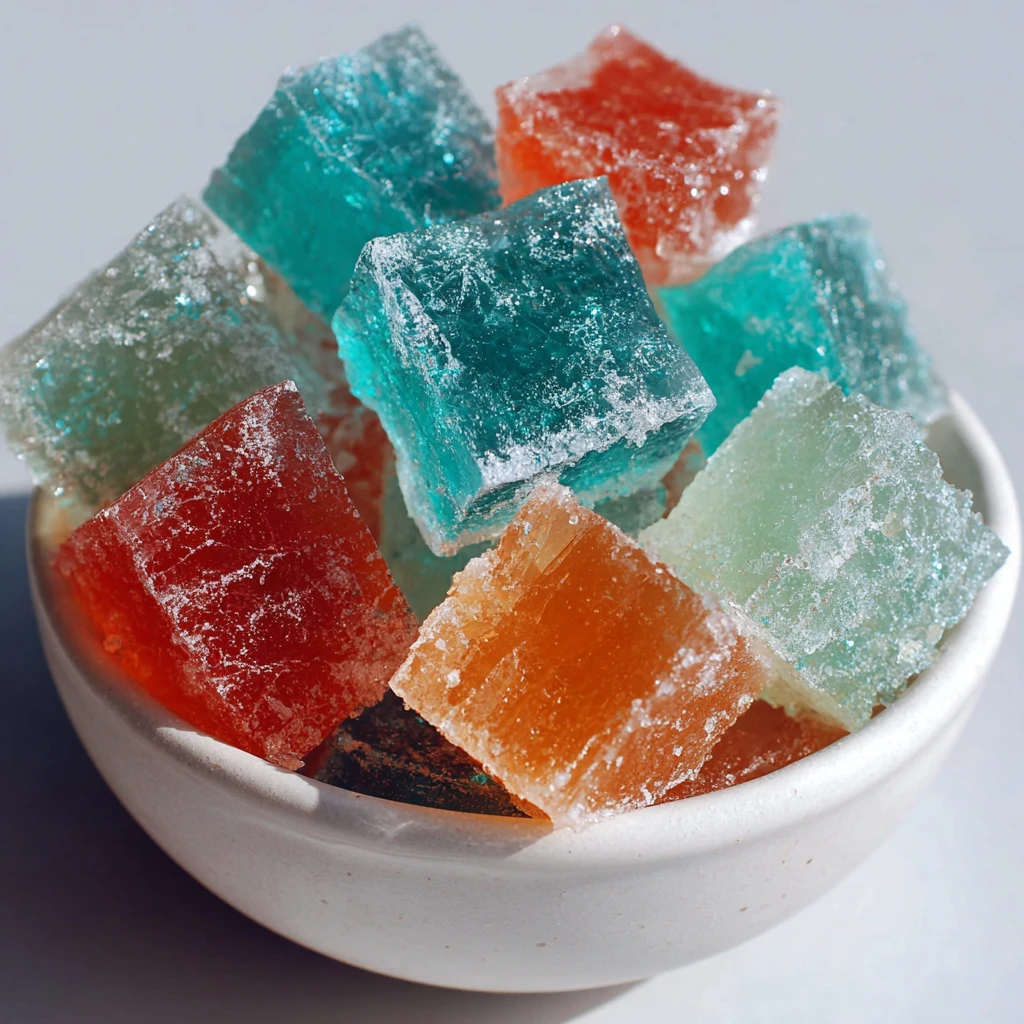
Imagine the sweet aroma of sugar and the shimmering beauty of crystals forming in your kitchen. Homemade crystal candy is not only a delightful treat but also a mesmerizing experience that captures the essence of culinary magic. In this article, we will delve into the art of creating these sugary gems from scratch, exploring the secrets behind their creation and the joy they bring to both the maker and the eater.
Why Homemade Crystal Candy is Special
What sets homemade crystal candy apart is the personal touch and creativity that go into each batch. Unlike store-bought candies, making your own crystal candy allows you to customize flavors, colors, and shapes, resulting in a truly unique confectionery masterpiece. The process of watching sugar transform into sparkling crystals before your eyes is a mesmerizing experience that adds an element of wonder to the kitchen.
Additionally, homemade crystal candy offers a sense of accomplishment and satisfaction that comes from creating something beautiful and delicious with your own hands. Whether you are a seasoned candy maker or a novice in the kitchen, the joy of sharing these homemade treats with friends and family is unparalleled.
Furthermore, the cultural significance of crystal candy dates back centuries, with variations of this sweet treat found in different cultures around the world. By engaging in the art of making crystal candy at home, you are not only participating in a time-honored tradition but also creating memories that will last a lifetime.
Why You’ll Love Making Homemade Crystal Candy
Creating homemade crystal candy is a rewarding experience that offers a myriad of benefits. Firstly, the process is relatively simple and requires minimal ingredients, making it an accessible recipe for both experienced and novice cooks. The satisfaction of turning basic sugar into a dazzling array of crystalline shapes is unparalleled.
Moreover, homemade crystal candy allows you to experiment with flavors and colors, giving you the freedom to unleash your creativity in the kitchen. Whether you prefer classic flavors like peppermint or more exotic combinations like lavender and honey, the possibilities are endless when it comes to customizing your crystal candy.
Additionally, homemade crystal candy makes for a thoughtful and unique gift for special occasions. From birthdays to holidays, presenting a jar of homemade crystal candy is a gesture that is sure to be appreciated and cherished by your loved ones.
Finally, the joy of indulging in a piece of homemade crystal candy is unparalleled. The satisfying crunch followed by the burst of sweetness is a sensory experience that will transport you back to simpler times and fill your heart with warmth.
Ingredients
To create your own batch of homemade crystal candy, you will need the following ingredients:
– Granulated sugar
– Water
– Flavoring extract (e.g., peppermint, vanilla)
– Food coloring (optional)
– Confectioner’s sugar for dusting
Feel free to experiment with different flavorings and colors to customize your crystal candy to your liking. You can also explore natural food colorings for a vibrant and chemical-free option.
Step-by-Step Instructions
1. In a medium saucepan, combine sugar and water over medium heat, stirring until the sugar dissolves completely.
2. Bring the mixture to a boil without stirring and continue cooking until it reaches the hard-crack stage on a candy thermometer (around 300°F).
3. Remove the saucepan from the heat and stir in the flavoring extract and food coloring of your choice.
4. Carefully pour the hot sugar mixture onto a prepared baking sheet lined with parchment paper.
5. Allow the sugar to cool and harden for a few hours or overnight until it forms crystals.
6. Once the candy has hardened, break it into pieces and dust with confectioner’s sugar to prevent sticking.
Expert Tips for Success
– Use a candy thermometer to ensure the sugar reaches the correct temperature for crystal formation.
– Avoid stirring the sugar mixture once it begins to boil to prevent crystallization.
– Experiment with different flavor combinations and colors to create a visually stunning array of crystal candy.
Variations and Substitutions
For a unique twist on traditional crystal candy, consider the following variations:
– Infuse the sugar mixture with herbs like lavender or rosemary for a floral flavor profile.
– Use natural fruit juices for coloring and flavoring for a healthier alternative.
– Substitute honey or maple syrup for part of the sugar for a richer taste.
Serving Suggestions
Homemade crystal candy makes for a delightful standalone treat or a charming addition to dessert platters and gift baskets. Serve these shimmering crystals alongside a cup of hot tea or wrap them in decorative bags as party favors. The possibilities are as endless as your imagination.
FAQs
Q: Can I use a different type of sugar for making crystal candy?
A: While granulated sugar is commonly used for crystal candy, you can experiment with other sugars like demerara or coconut sugar for unique flavor profiles.
Q: How long can I store homemade crystal candy?
A: Store your crystal candy in an airtight container at room temperature for up to two weeks for optimal freshness and crunchiness.
Q: Why did my crystal candy turn sticky?
A: Sticky crystal candy can be a result of excess humidity or inadequate cooling time. Ensure your candy is fully hardened before storing to prevent stickiness.
Final Thoughts
Embark on a culinary adventure with homemade crystal candy and witness the transformation of humble sugar into dazzling edible jewels. Whether you’re crafting these sweet treats for yourself or sharing them with loved ones, the joy and satisfaction that come with creating something beautiful from scratch are truly priceless. So, gather your ingredients, unleash your creativity, and let the magic of homemade crystal candy brighten your kitchen and your day.
Homemade Crystal Candy
Experience the magical process of creating homemade crystal candy from scratch. Customize flavors, colors, and shapes to craft unique confectionery masterpieces that dazzle both the eye and the palate.
Ingredients
- 2 cups granulated sugar
- 1/2 cup water
- 1 teaspoon flavoring extract (e.g., peppermint, vanilla)
- Food coloring (optional)
- Confectioner's sugar for dusting
Directions
- In a medium saucepan, combine sugar and water over medium heat, stirring until the sugar dissolves completely.
- Bring the mixture to a boil without stirring and continue cooking until it reaches the hard-crack stage on a candy thermometer (around 300°F).
- Remove the saucepan from the heat and stir in the flavoring extract and food coloring of your choice.
- Carefully pour the hot sugar mixture onto a prepared baking sheet lined with parchment paper.
- Allow the sugar to cool and harden for a few hours or overnight until it forms crystals.
- Once the candy has hardened, break it into pieces and dust with confectioner's sugar to prevent sticking.