
Ice Cream Mold
Summer is the perfect time to indulge in delicious frozen treats, and what better way to create your own than with an ice cream mold? Whether you’re a fan of classic flavors or looking to experiment with unique combinations, homemade ice cream allows you to customize your desserts to your liking. In this guide, we’ll provide you with a detailed recipe for making ice cream using silicone ice cream molds, along with tips for perfecting your creations and ideas for presenting them beautifully. The versatility of an ice cream mold means you can explore endless flavor options and fun shapes, making each serving a delightful experience. From fruity and refreshing to rich and indulgent, the choices are truly limitless.
Ingredients
- Base Ingredients:
- 2 cups heavy cream – For a rich and creamy texture, choose heavy cream that has a fat content of at least 36%. This will ensure a luscious mouthfeel that is characteristic of premium ice cream.
- 1 cup whole milk – This adds a smooth consistency; however, you can substitute with low-fat milk for a lighter version. Keep in mind that using lower-fat options might affect the creaminess of your final product.
- 3/4 cup granulated sugar – Adjust the sugar to your taste; you can reduce it if you prefer a less sweet ice cream. Brown sugar can also be used for a caramel undertone.
- 1 teaspoon pure vanilla extract – Use high-quality vanilla extract for the best flavor; vanilla bean paste is a great alternative for a more intense vanilla taste. Fresh vanilla beans can elevate your ice cream with their beautiful specks and rich aroma.
- Flavor Additions:
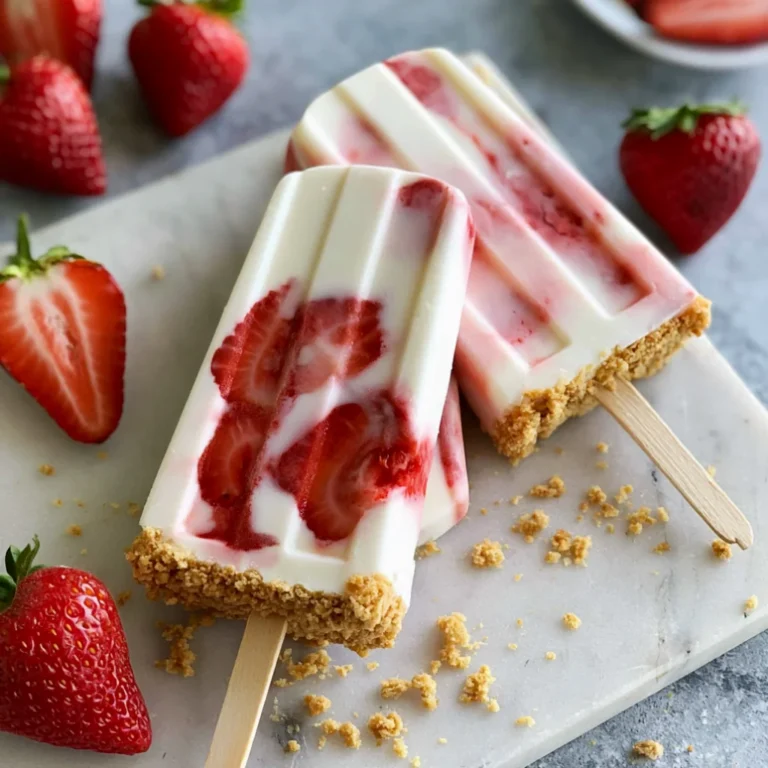
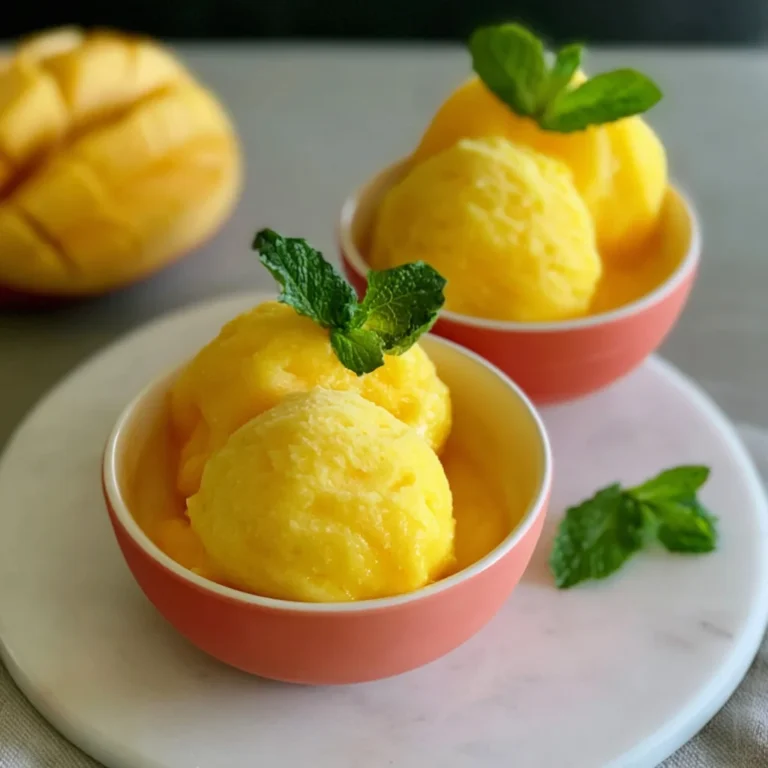
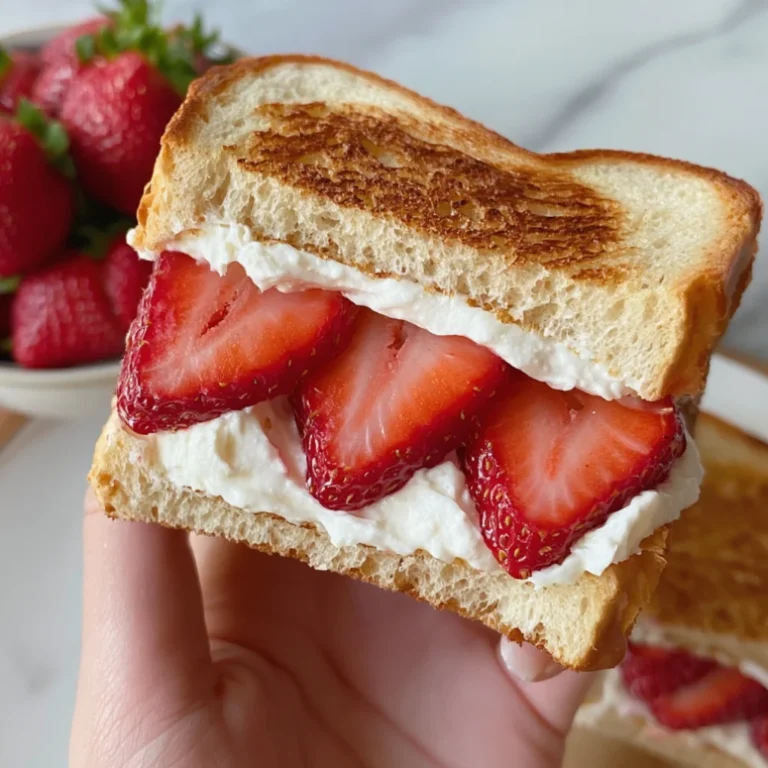
- 1 cup fresh fruit (strawberries, mangoes, or peaches), pureed – Fresh fruit adds natural sweetness and flavor. Frozen fruit can also be used; just make sure to thaw and puree it first. Choose ripe fruit for the best taste.
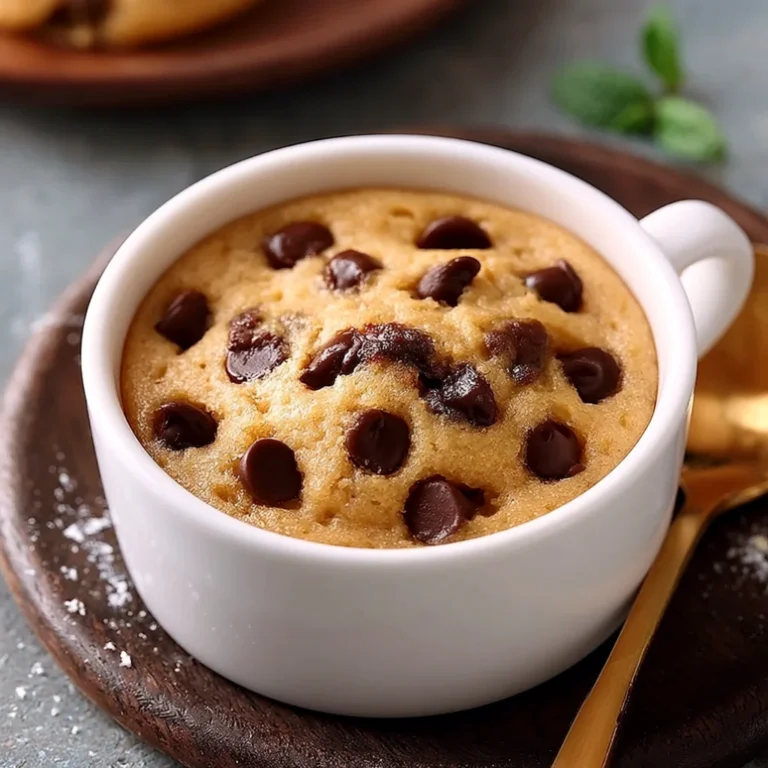
- 1/2 cup chocolate chips or chunks (optional) – Choose semi-sweet or dark chocolate for a richer flavor; you could also use white chocolate for a different twist. Consider adding flavored chocolate for an extra layer of taste.
- 1/4 cup nuts (walnuts, almonds, or pecans), chopped (optional) – Nuts add a pleasant crunch; consider toasting them lightly to enhance their flavor before adding. This step can significantly boost the nutty profile of your ice cream.
- Equipment:
- Silicone ice cream molds – These molds are perfect for easy release and fun shapes, ensuring your ice cream comes out smoothly. Their flexibility allows for creative shapes that kids and adults alike will enjoy.
- Mixing bowl – A large mixing bowl will give you enough space to combine all ingredients thoroughly. Choose a bowl that can accommodate the volume of your mixture without spilling.
- Whisk or electric mixer – An electric mixer can help achieve that creamy consistency faster, but a whisk works well too. Mixing by hand can also give you a good workout!
- Spatula – Use a spatula for folding in ingredients gently without over-mixing. A silicone spatula is excellent for scraping down the sides of the bowl.
- Freezer-safe container for any extra ice cream – Make sure the container is airtight to prevent freezer burn and maintain texture. You might also want to include a label for the flavor and date of freezing.
Steps / Instructions
- Prepare the Ice Cream Base: In a large mixing bowl, combine the heavy cream, whole milk, granulated sugar, and vanilla extract. Using a whisk or an electric mixer, blend the mixture until the sugar is fully dissolved, and the mixture is smooth and creamy. This should take about 2-3 minutes. Pay attention to the texture; it should be thick enough to coat the back of a spoon, indicating that it’s ready for the next step.
- Add Flavorings: If you’re making a fruity flavor, gently fold in the pureed fruit using a spatula until evenly distributed. If using chocolate chips or nuts, add them now and mix until incorporated. Be careful not to over-mix, as this can lead to a grainy texture. Aim for a uniform mixture, ensuring every scoop has a bit of everything.
- Fill the Molds: Carefully pour the ice cream mixture into the silicone ice cream molds. Leave a little space at the top of each mold to allow for expansion during freezing. This step is crucial to avoid overflow as the ice cream solidifies. Tap the molds gently on the counter to release any air bubbles; this will help create a smoother texture without unwanted air pockets.
- Freeze: Place the filled molds in the freezer. Allow them to freeze for at least 4-6 hours, or until completely solid. If you’re in a hurry, a faster freeze can be achieved by spreading the mixture in a shallow container before transferring to the molds. Keep the molds covered to prevent ice crystals from forming on the surface, which can negatively impact the texture.
- Unmold and Serve: Once the ice cream is fully frozen, remove the molds from the freezer. To release the ice cream, gently pull on the sides of the silicone mold or run warm water over the outside of the mold for a few seconds. Serve immediately or store any extra ice cream in a freezer-safe container. Make sure to label the container with the flavor for easy identification later! Enjoy your homemade treat and savor the satisfaction of your efforts.
Tips & Tricks
- Ingredient Quality: Use high-quality dairy products for the best flavor. If you prefer a lighter version, consider using coconut milk or almond milk for a dairy-free option. Always taste your base mixture before freezing to ensure it’s sweet enough, adjusting as necessary to suit your palate.
- Mix-Ins: Add mix-ins like cookie dough or marshmallows just before the ice cream is set in the molds for delightful surprises in every bite. Consider varying the mix-ins based on the flavor of ice cream you are creating for unique combinations. This adds layers of flavor and texture that enhance the overall experience.
- Storage: Store any leftover ice cream in an airtight container in the freezer for up to two weeks. To maintain the best texture, press a piece of plastic wrap directly onto the surface of the ice cream before sealing the container. This minimizes air exposure and helps keep your ice cream creamy.
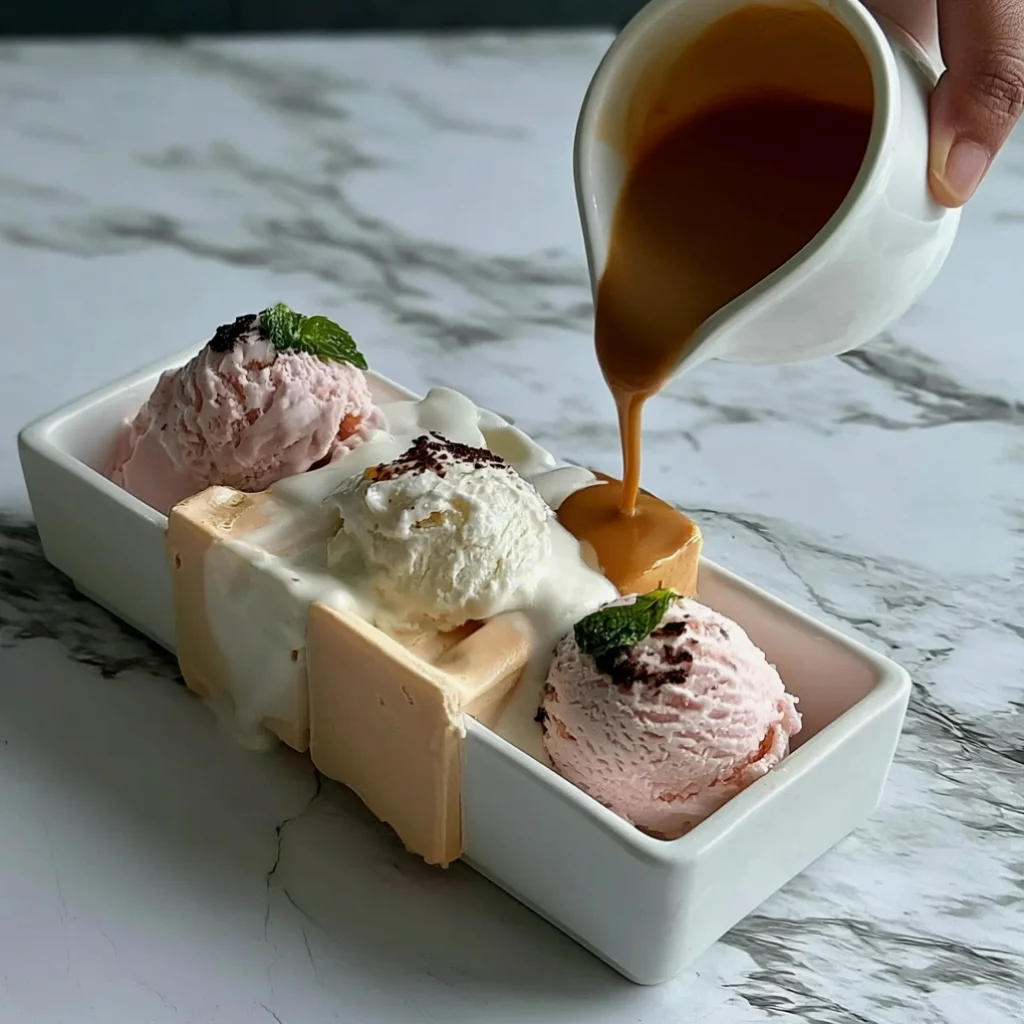
- Presentation: For a fun presentation, serve the ice cream in waffle cones or cups, and drizzle with chocolate syrup or top with fresh fruit. You can also sprinkle some crushed nuts or sprinkles for added texture and flavor. Consider using decorative bowls or glasses for an even more appealing display.
- No-Churn Techniques: If you’re looking for no-churn ice cream techniques, simply mix the ingredients, pour them into molds, and freeze—no ice cream maker needed! This method is perfect for those who want a quick and easy way to create delicious frozen treats without the fuss of additional equipment.
Ice Cream Mold Ideas
When it comes to using your ice cream mold, the possibilities are endless. Consider creating layered ice cream desserts by alternating flavors in your molds, which not only looks visually appealing but also offers a delightful variety in each bite. You can also experiment with unique ice cream shapes using specialty molds, which can add a fun twist to your presentations. For a family-friendly dessert, create themed ice cream shapes for a summer party or gather the kids for a DIY ice cream party. This can be an enjoyable activity that encourages creativity and culinary experimentation. You can learn more about this topic and discover new ideas on how to maximize your ice cream mold’s potential.
Incorporate different ice cream flavors like chocolate mint, cookie dough, or even gourmet options such as lavender honey or matcha green tea. These variations will surely impress your friends and family while satisfying your sweet tooth during those warm summer days. Don’t hesitate to get creative with your combinations, as trying unusual ingredients can lead to delightful surprises. Check out our related guide for more tips, including how to select the best ice cream mold for your needs and achieve the perfect homemade ice cream every time.
Homemade Ice Cream
A detailed recipe for making ice cream using silicone ice cream molds, along with tips for perfecting your creations and ideas for presenting them beautifully.
Ingredients
- 2 cups heavy cream
- 1 cup whole milk
- 3/4 cup granulated sugar
- 1 teaspoon pure vanilla extract
- 1 cup fresh fruit (strawberries, mangoes, or peaches), pureed
- 1/2 cup chocolate chips or chunks (optional)
- 1/4 cup nuts (walnuts, almonds, or pecans), chopped (optional)
- Silicone ice cream molds
- Mixing bowl
- Whisk or electric mixer
- Spatula
- Freezer-safe container for any extra ice cream
Directions
In a large mixing bowl, combine the heavy cream, whole milk, granulated sugar, and vanilla extract. Using a whisk or an electric mixer, blend the mixture until the sugar is fully dissolved, and the mixture is smooth and creamy. This should take about 2-3 minutes.
If you’re making a fruity flavor, gently fold in the pureed fruit using a spatula until evenly distributed. If using chocolate chips or nuts, add them now and mix until incorporated.
Carefully pour the ice cream mixture into the silicone ice cream molds. Leave a little space at the top of each mold to allow for expansion during freezing. Tap the molds gently on the counter to release any air bubbles.
Place the filled molds in the freezer. Allow them to freeze for at least 4-6 hours, or until completely solid.
Once the ice cream is fully frozen, remove the molds from the freezer. To release the ice cream, gently pull on the sides of the silicone mold or run warm water over the outside of the mold for a few seconds.
Recipe Reviews
- ★★★★★
Excellent recipe!
Leave a Reply
Your email address will not be published. Required fields are marked *


Excellent recipe!